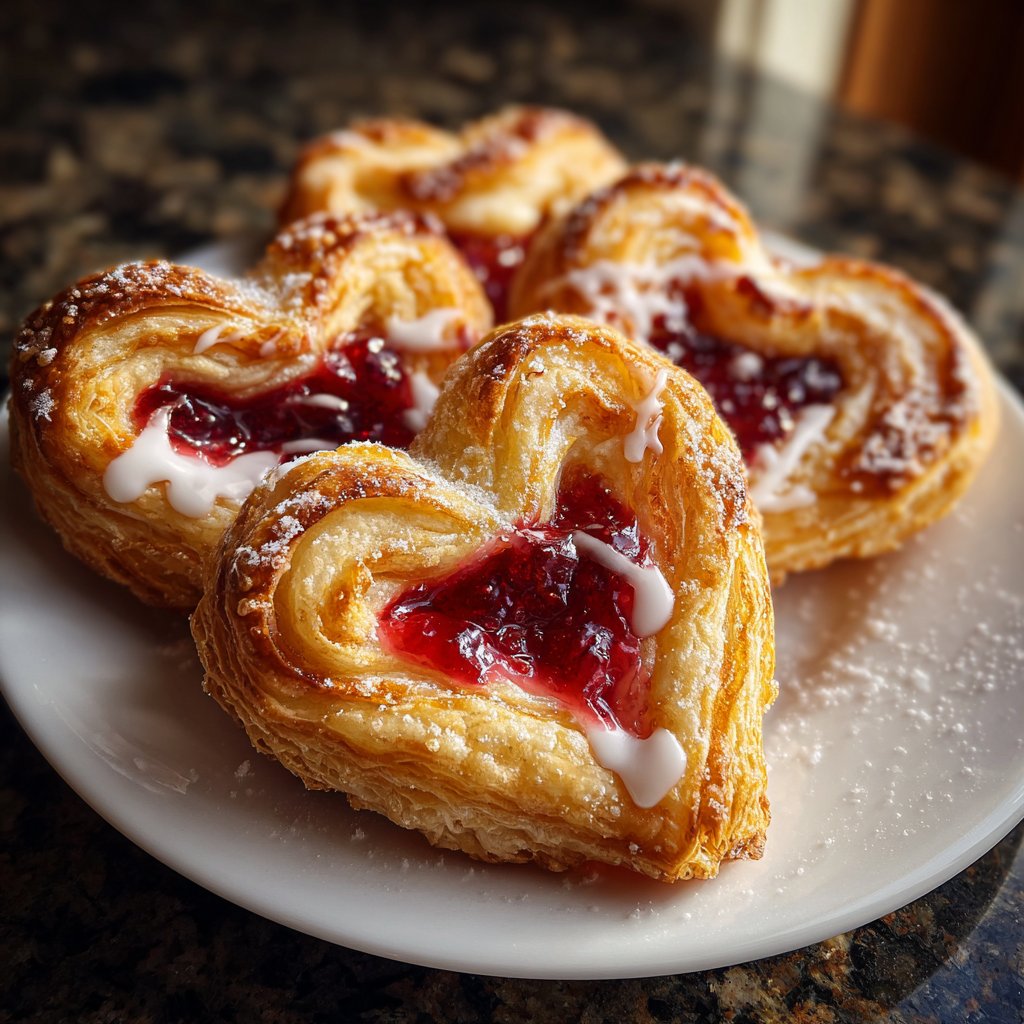
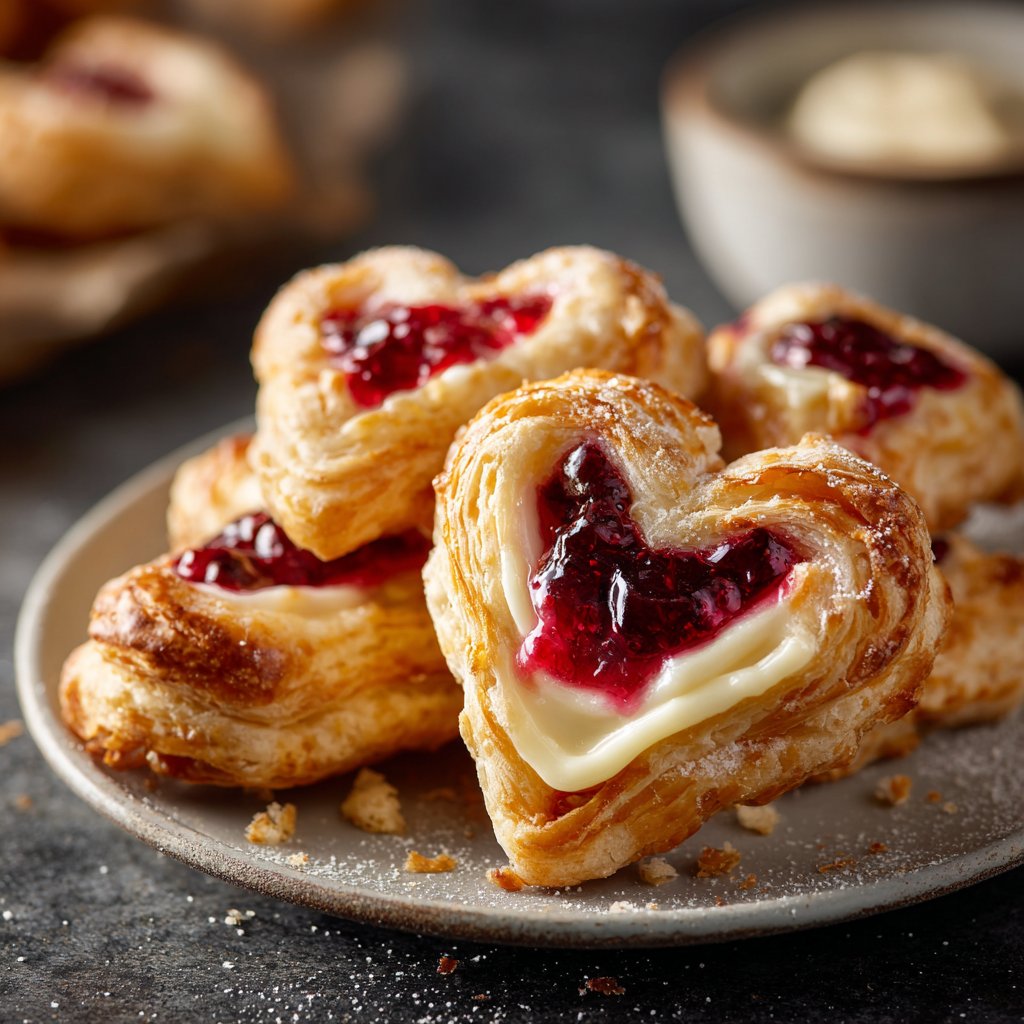
Valentines Snacks Mini Puff Pastries
Highlighted under: Dessert Time
I love making mini puff pastries for Valentine's Day because they're the perfect blend of flaky goodness and sweet fillings. These little bites serve as delightful surprises that charm not just your taste buds but also your loved ones. Puff pastry offers a luxurious texture, and you can fill them with anything from chocolate to fresh fruit. I find that the process of creating these elegant snacks not only brings joy but also makes for a fun time with friends or family in the kitchen. You can't help but smile when you serve them up!
When I first made these mini puff pastries, I was pleasantly surprised by how simple yet impressive they turned out. I decided to experiment with different fillings, and my favorite ended up being a mix of rich chocolate and creamy mascarpone. The contrast of flavors is phenomenal, especially when paired with a sprinkle of fresh berries on top!
One tip I always share is to keep your puff pastry chilled before working with it. This ensures that your pastries puff beautifully while baking, creating that delicious flaky texture we all love. Trust me; the difference is noticeable!
Why You'll Love This Recipe
- Flaky, buttery pastry that melts in your mouth
- Versatile filling options for every taste preference
- Perfect for romantic settings or festive gatherings
Perfecting Your Puff Pastry
The key to achieving that classic flaky texture in your puff pastry lies in the way you handle the dough. When rolling out the sheets, keep your surface lightly floured to prevent sticking. Be gentle; overworking the pastry can result in tough rather than tender bites. Ensuring that the pastry remains chilled while you work is essential—this helps maintain the layers. If you find it getting too warm, pop it back in the fridge for a few minutes before cutting it into squares.
When cutting the pastry, aim for uniformity in the square sizes for even baking. A sharp knife will help make clean cuts, which prevents the edges from sealing improperly. Each square should ideally be about 3x3 inches, but don't worry; a little variation won't hurt, as long as you're mindful of the baking time, adjusting as needed for larger or smaller pieces.
Crafting the Chocolate Filling
The filling is where these pastries truly shine. Using high-quality dark chocolate elevates the flavors dramatically; aim for a chocolate that has at least 70% cocoa for a rich taste that balances perfectly with the mascarpone. When melting the chocolate, be sure to stir between intervals to prevent burning, as chocolate can seize quickly. Achieving a smooth consistency is crucial—your filling should be glossy and easily spreadable.
Mascarpone provides a creamy texture that complements the bittersweet chocolate. If you're looking for a lighter option, you can substitute half of the mascarpone with Greek yogurt, which also adds a tangy touch. Just be mindful of the moisture content; if the filling feels too loose, add a bit more powdered sugar to tighten it up.
Ingredients
For the Puff Pastry
- 2 sheets of store-bought puff pastry, thawed
- 1 egg, beaten (for egg wash)
For the Chocolate Filling
- 100g dark chocolate, chopped
- 100g mascarpone cheese
- 1 tablespoon powdered sugar
- 1 teaspoon vanilla extract
For the Berry Topping
- Fresh strawberries, halved
- Fresh raspberries
- Mint leaves (for garnish)
Instructions
Prepare the Filling
In a mixing bowl, combine the chopped dark chocolate, mascarpone cheese, powdered sugar, and vanilla extract. Melt the chocolate in a microwave in 30-second intervals until smooth, then mix well. Set aside to cool slightly.
Prepare the Puff Pastry
Unroll the puff pastry sheets on a lightly floured surface. Cut each sheet into small squares (about 3x3 inches).
Fill the Pastries
Place about a teaspoon of the chocolate filling in the center of each pastry square. Fold the corners toward the center to form a pocket and pinch to seal.
Apply Egg Wash
Brush the tops of the pastries with the beaten egg to give them a golden color when baked.
Bake the Pastries
Preheat the oven to 400°F (200°C). Arrange the pastries on a baking sheet lined with parchment paper and bake for 15-20 minutes until puffed and golden brown.
Garnish and Serve
Once baked, allow them to cool slightly. Top with fresh berries and mint leaves before serving.
Pro Tips
- For an extra touch, dust the pastries with powdered sugar before serving for a sweet, elegant finish.
Storage and Make-Ahead Tips
If you want to prepare these delightful pastries ahead of time, you can assemble them and freeze them before baking. Simply arrange the filled pastries on a baking sheet, freeze until solid, then transfer to an airtight container. You can bake them straight from the freezer; just add a few extra minutes to the baking time to ensure they cook through and puff up beautifully.
Once baked, the pastries are best enjoyed fresh. However, if you have leftovers, store them in an airtight container at room temperature for up to two days. To revive their flakiness, heat them in the oven at 350°F (175°C) for 5-7 minutes before serving.
Serving Suggestions
For a romantic touch, serve these pastries alongside a scoop of vanilla ice cream or a drizzle of warm chocolate sauce for dipping. The contrast of temperatures will impress your guests and create an indulgent dessert experience. You can also arrange them on a platter garnished with additional berries and mint for a vibrant presentation.
Feel free to experiment with fillings! You can customize the filling based on seasonal fruits—think fresh peaches or cherries in summer. Savory variations like cheese and spinach would also make great appetizers for a larger gathering, ensuring there’s something for everyone.
Questions About Recipes
→ Can I freeze these pastries?
Yes, you can freeze unbaked pastries. Just assemble, freeze them on a baking sheet, then transfer to a bag. Bake from frozen, adding a few extra minutes to the cooking time.
→ What other fillings can I use?
You can try cream cheese and fruit, almond paste, or even savory fillings like cheese and herbs.
→ How do I know when they are done baking?
They should be golden brown and puffed up. If they still look flat and pale, give them a few more minutes.
→ Can I make these ahead of time?
Yes, you can prepare the filling and pastry ahead, then bake them fresh just before serving for the best texture.
Valentines Snacks Mini Puff Pastries
Created by: Marina Lowe
Recipe Type: Dessert Time
Skill Level: Intermediate
Final Quantity: 24 pastries
What You'll Need
For the Puff Pastry
- 2 sheets of store-bought puff pastry, thawed
- 1 egg, beaten (for egg wash)
For the Chocolate Filling
- 100g dark chocolate, chopped
- 100g mascarpone cheese
- 1 tablespoon powdered sugar
- 1 teaspoon vanilla extract
For the Berry Topping
- Fresh strawberries, halved
- Fresh raspberries
- Mint leaves (for garnish)
How-To Steps
In a mixing bowl, combine the chopped dark chocolate, mascarpone cheese, powdered sugar, and vanilla extract. Melt the chocolate in a microwave in 30-second intervals until smooth, then mix well. Set aside to cool slightly.
Unroll the puff pastry sheets on a lightly floured surface. Cut each sheet into small squares (about 3x3 inches).
Place about a teaspoon of the chocolate filling in the center of each pastry square. Fold the corners toward the center to form a pocket and pinch to seal.
Brush the tops of the pastries with the beaten egg to give them a golden color when baked.
Preheat the oven to 400°F (200°C). Arrange the pastries on a baking sheet lined with parchment paper and bake for 15-20 minutes until puffed and golden brown.
Once baked, allow them to cool slightly. Top with fresh berries and mint leaves before serving.
Extra Tips
- For an extra touch, dust the pastries with powdered sugar before serving for a sweet, elegant finish.
Nutritional Breakdown (Per Serving)
- Calories: 140 kcal
- Total Fat: 8g
- Saturated Fat: 4g
- Cholesterol: 25mg
- Sodium: 60mg
- Total Carbohydrates: 15g
- Dietary Fiber: 1g
- Sugars: 4g
- Protein: 2g