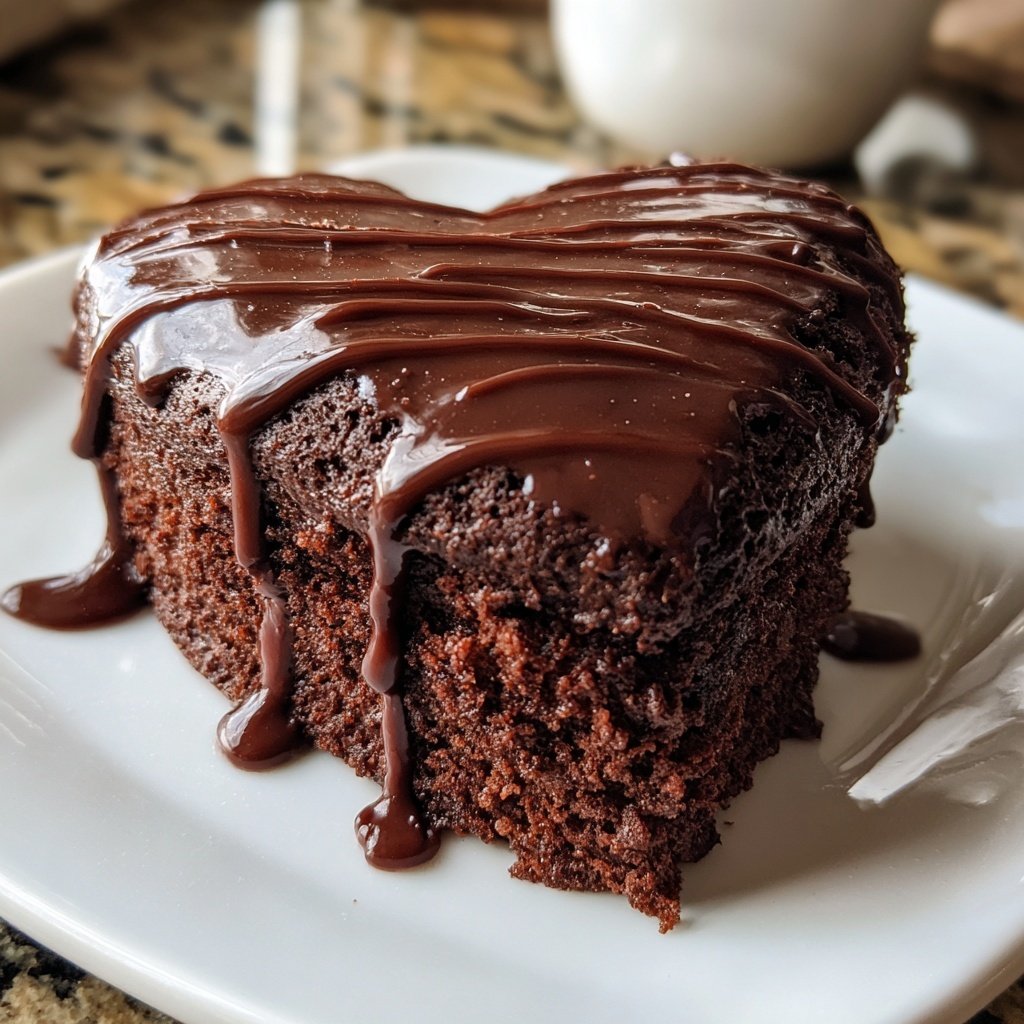
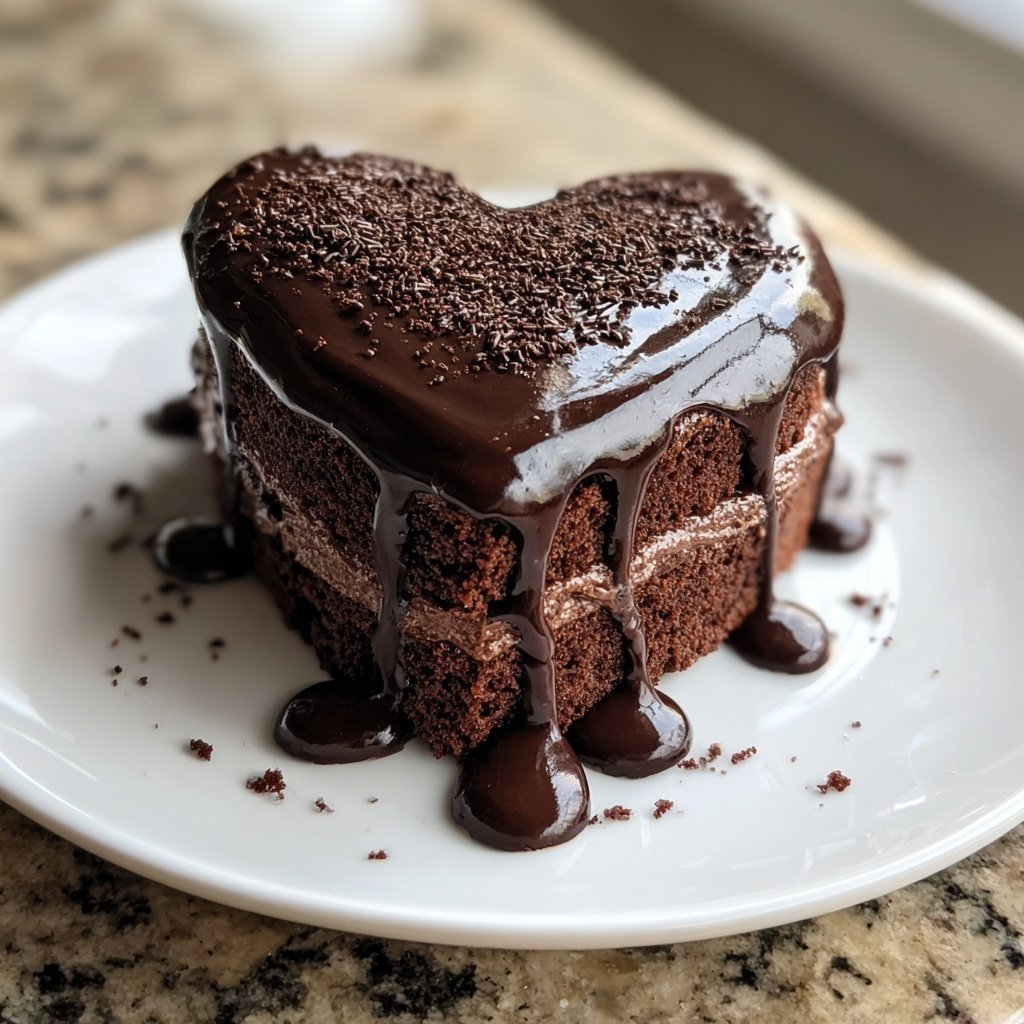
Mini Heart Cake with Chocolate Sponge
Highlighted under: Dessert Time
I absolutely love making this Mini Heart Cake with Chocolate Sponge for special occasions. It's the perfect treat for loved ones, combining rich chocolate flavor with the sweetness of a cake that’s just the right size for sharing. The sponge itself turns out incredibly light and fluffy— a result of whipping the egg whites to soft peaks before folding them into the batter. Plus, it's super simple to decorate, allowing me to get creative with toppings. Each bite is a delightful celebration of flavor and texture!
Making this Mini Heart Cake was a joyous experience for me. I wanted to create something that not only looked beautiful but also tasted incredible. By using high-quality cocoa powder and baking it just until set, I made sure that the cake was moist and flavorful. It’s a favorite for romantic dinners!
One of the best parts about this cake is the assembly. I learned that chilling the sponge for a bit helps in making clean cuts. This keeps the cake from crumbling and maintains its adorable heart shape. Each slice is as delightful as the last!
Why You'll Love This Cake
- Rich chocolate flavor paired with fresh orange zest
- Creamy texture that melts in your mouth
- Perfect for celebrations or as a sweet indulgence
Understanding the Chocolate Sponge
The key to achieving a light and airy chocolate sponge lies in the proper handling of egg whites. When whisking the egg whites, ensure that your mixing bowl is clean and free of any grease. This will allow the whites to whip properly, achieving the soft peaks necessary for folding into the batter. Under-whipping can result in a dense cake, while over-whipping may cause the whites to become grainy, making it harder to integrate smoothly into the mixture.
Incorporate the dry ingredients gently into the egg yolk mixture to maintain the sponge's airiness. Use a spatula and fold in a figure-eight motion to avoid deflating the batter. This delicate process ensures that your cake rises beautifully during baking, resulting in a tender texture that is perfect for celebrating special moments.
Flavor Enhancements and Alternatives
While the chocolate flavor of this cake is delightful on its own, adding a hint of espresso powder to the dry ingredients can elevate the chocolate notes significantly. This small addition amplifies the richness without overwhelming the cake with coffee flavor. You can also experiment with flavored extracts, like vanilla or almond, to introduce another layer of complexity to the cake's taste.
If you're looking for a dietary alternative, consider substituting the all-purpose flour with a gluten-free blend designed for baking. Additionally, you can opt for a dairy-free butter substitute and plant-based milk to accommodate lactose-intolerant guests without sacrificing flavor or texture.
Serving Suggestions and Storage
Serve your Mini Heart Cake with a dollop of freshly whipped cream and a sprinkle of chocolate shavings for an elegant touch. To make it extra special, consider pairing it with a side of fresh berries, which not only add a pop of color but also provide a refreshing contrast to the rich chocolate. It makes for an impressive centerpiece at any gathering.
If you have leftovers, store the cake in an airtight container in the refrigerator for up to three days. If you plan to make it ahead of time, the un-frosted sponge freezes beautifully. Wrap it tightly in plastic wrap and foil, and it can be frozen for up to a month—just thaw and decorate when you’re ready to serve!
Ingredients
Ingredients
For the Chocolate Sponge
- 1 cup all-purpose flour
- 1/2 cup unsweetened cocoa powder
- 1 cup granulated sugar
- 4 large eggs, separated
- 1/2 cup unsalted butter, melted
- 1 tsp baking powder
- 1/2 tsp salt
- 1/2 cup milk
For Decoration
- Whipped cream
- Chocolate shavings
- Fresh berries
- Mint leaves
Gather all your ingredients before you start for an easier baking experience.
Instructions
Instructions
Prepare the Oven
Preheat your oven to 350°F (175°C). Grease and flour a small heart-shaped cake pan.
Mix the Dry Ingredients
In a bowl, sift together the flour, cocoa powder, baking powder, and salt.
Beat the Egg Yolks
In a separate bowl, beat the egg yolks with sugar until pale and creamy. Gradually add the melted butter and milk, mixing well.
Combine Mixtures
Gently fold the dry ingredients into the wet mixture until just combined.
Beat Egg Whites
In another bowl, beat egg whites until soft peaks form. Carefully fold the egg whites into the batter.
Bake
Pour the batter into the prepared pan and bake for 25 minutes or until a toothpick inserted in the center comes out clean.
Cool and Decorate
Let the cake cool in the pan for 10 minutes before transferring to a wire rack. Once cooled, decorate with whipped cream, chocolate shavings, and fresh berries.
Enjoy your delicious Mini Heart Cake with friends and family!
Pro Tips
- Make sure to whip the egg whites to the right consistency for a light sponge. You can also add a splash of vanilla extract for extra flavor!
Decorating Tips
When decorating your Mini Heart Cake, let your creativity shine! Using a piping bag fitted with a star nozzle can create beautiful rosettes with whipped cream, giving a professional finish to your cake. For a contrast in textures, consider adding crushed nuts or sprinkles on top as a finishing touch.
To create a more festive look for occasions such as Valentine's Day or anniversaries, you can experiment with colored whipped cream or edible glitter. Just be sure to use a food-safe spray if you're going for a shimmer, and keep the palate balanced to avoid overwhelming the chocolate flavor.
Troubleshooting Common Issues
If your cake sinks in the center while cooling, it may be due to under-baking. Make sure to test with a toothpick; it should come out clean, but also do a visual check. The cake should spring back lightly when pressed in the center, indicating doneness. If it still sinks, next time try increasing the baking time by a few minutes.
In case your sponge turns out too dense or heavy, review the folding technique used when incorporating the whipped egg whites. Make sure not to overmix, as this can lead to a collapsed structure. Practicing the folding technique will help you master the balance of lightness and moisture in your cake.
Scaling Up the Recipe
This Mini Heart Cake recipe can easily be scaled up for larger gatherings. Simply double the ingredients and bake in a standard round cake pan or in multiple heart-shaped pans. Keep an eye on the baking time, as larger cakes may require an additional 5-10 minutes in the oven. Always check with a toothpick for doneness to avoid dryness.
When scaling the recipe, consider how you plan to layer and decorate. Larger cakes can handle more toppings, so feel free to get adventurous with your decorations! Adding more layers can also introduce interesting fillings, such as fruit preserves or flavored creams that complement the chocolate sponge.
Questions About Recipes
→ Can I use a different type of pan?
Yes, you can use a round or square pan, but the baking time may vary.
→ How do I store leftovers?
Store the cake in an airtight container in the fridge for up to three days.
→ Can I make this cake gluten-free?
Yes, substitute the all-purpose flour with a gluten-free blend.
→ What can I substitute for eggs?
You can use flax eggs or applesauce as a substitute for binding.
Mini Heart Cake with Chocolate Sponge
Created by: Marina Lowe
Recipe Type: Dessert Time
Skill Level: Intermediate
Final Quantity: 6 servings
What You'll Need
For the Chocolate Sponge
- 1 cup all-purpose flour
- 1/2 cup unsweetened cocoa powder
- 1 cup granulated sugar
- 4 large eggs, separated
- 1/2 cup unsalted butter, melted
- 1 tsp baking powder
- 1/2 tsp salt
- 1/2 cup milk
For Decoration
- Whipped cream
- Chocolate shavings
- Fresh berries
- Mint leaves
How-To Steps
Preheat your oven to 350°F (175°C). Grease and flour a small heart-shaped cake pan.
In a bowl, sift together the flour, cocoa powder, baking powder, and salt.
In a separate bowl, beat the egg yolks with sugar until pale and creamy. Gradually add the melted butter and milk, mixing well.
Gently fold the dry ingredients into the wet mixture until just combined.
In another bowl, beat egg whites until soft peaks form. Carefully fold the egg whites into the batter.
Pour the batter into the prepared pan and bake for 25 minutes or until a toothpick inserted in the center comes out clean.
Let the cake cool in the pan for 10 minutes before transferring to a wire rack. Once cooled, decorate with whipped cream, chocolate shavings, and fresh berries.
Extra Tips
- Make sure to whip the egg whites to the right consistency for a light sponge. You can also add a splash of vanilla extract for extra flavor!
Nutritional Breakdown (Per Serving)
- Calories: 380 kcal
- Total Fat: 26g
- Saturated Fat: 15g
- Cholesterol: 195mg
- Sodium: 85mg
- Total Carbohydrates: 32g
- Dietary Fiber: 3g
- Sugars: 24g
- Protein: 6g