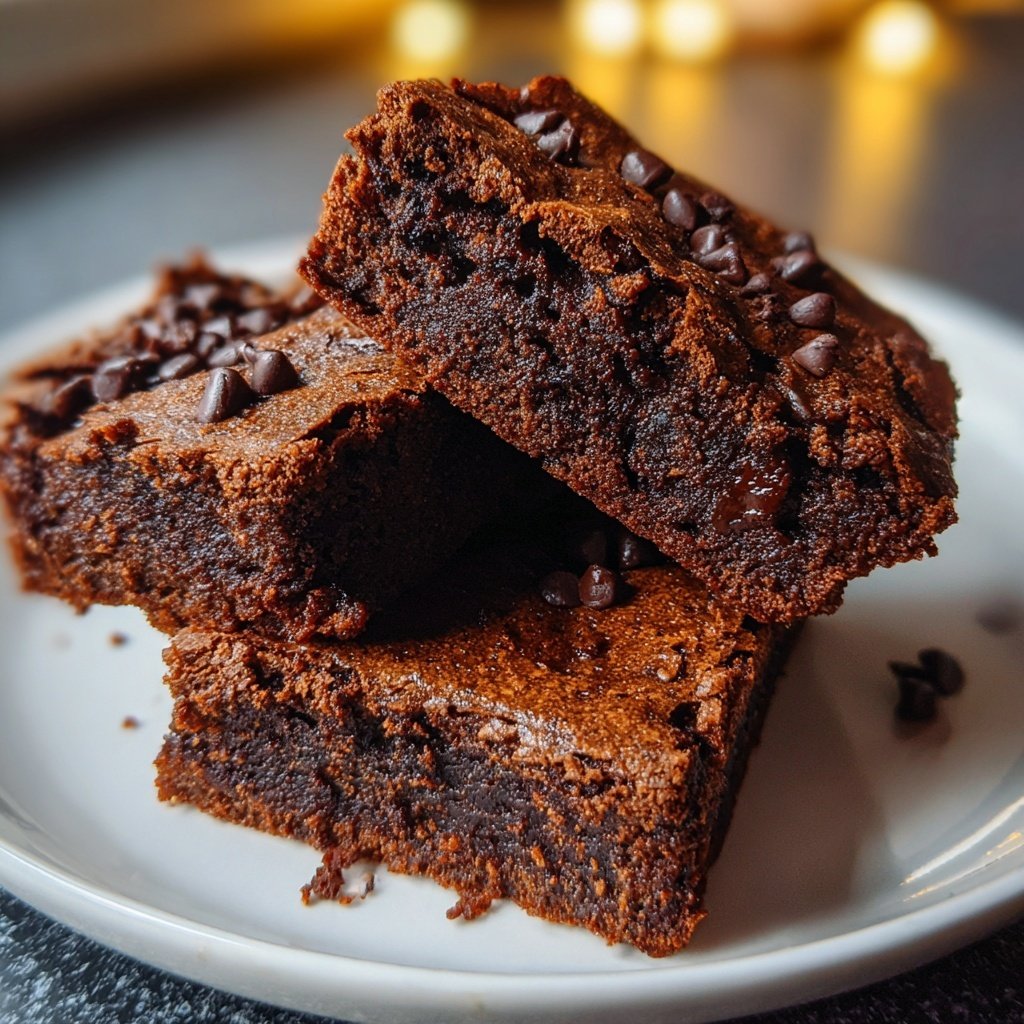
Cottage Cheese Brownies with Cocoa Nibs
Highlighted under: Dessert Time
I absolutely love making Cottage Cheese Brownies with Cocoa Nibs on weekends. They are a delightful twist on traditional brownies, using cottage cheese for added creaminess and protein. The cocoa nibs add a crunchy texture and rich chocolate flavor, making every bite a treat. I enjoy serving these to guests, and they never suspect that these decadent brownies are a healthier option. Plus, it's a perfect recipe for using up any leftover cottage cheese in the fridge, turning it into something truly special!
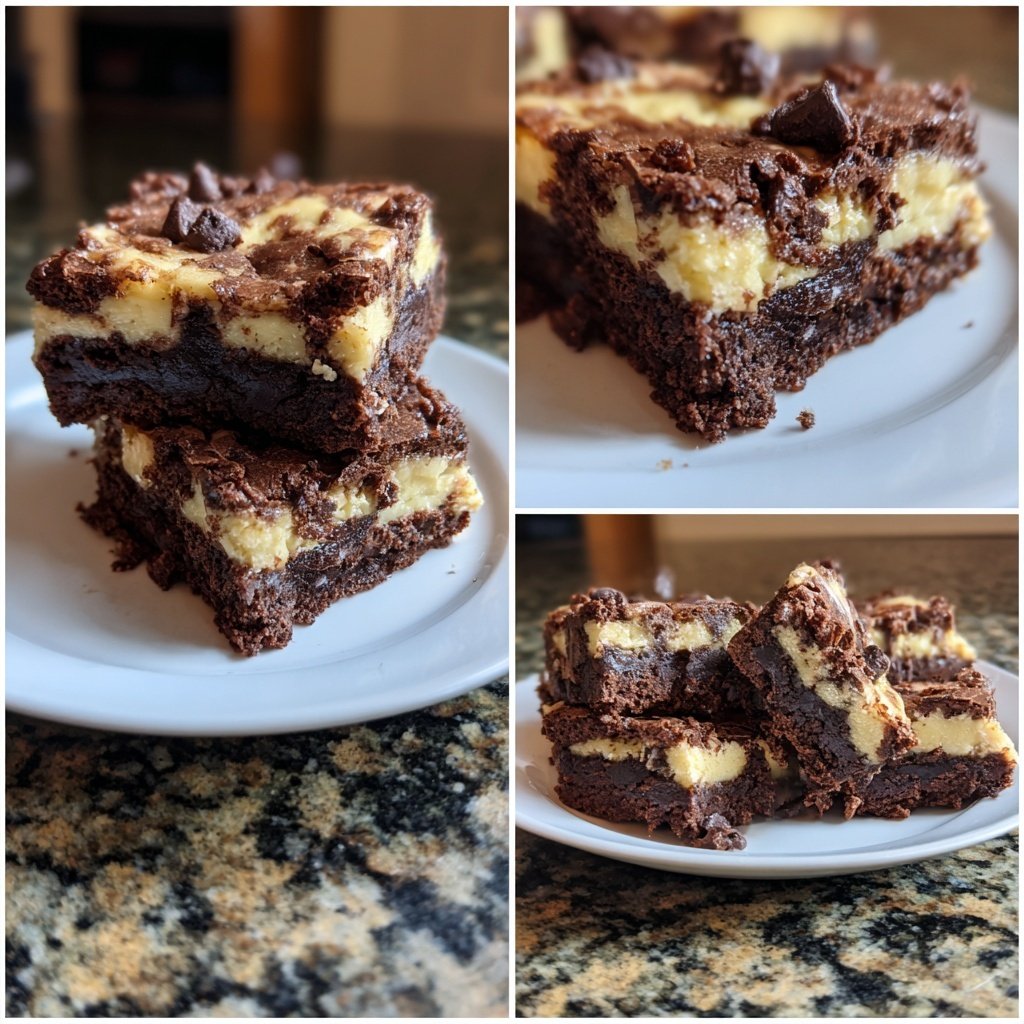
Making these Cottage Cheese Brownies has been a game changer in my baking adventures. I often find that using cottage cheese in dessert recipes creates a unique texture and keeps the brownies moist. The key is to blend the cottage cheese until smooth before adding it to the batter. This way, it integrates seamlessly and provides that extra creaminess that takes these brownies to the next level.
Another aspect I enjoy is the cocoa nibs I incorporate. They not only add a delightful crunch but also intensify the chocolate flavor. The bitterness of cocoa nibs contrasts beautifully with the sweeter elements in the brownies, making each bite a balanced experience. Trust me, once you try this combination, you won’t want to go back!
Why You Will Love This Recipe
- Rich chocolate flavor paired with crunchy cocoa nibs
- Creamy texture from cottage cheese that delights the palate
- A healthier brownie option packed with protein and flavor
Unlocking the Secret of Cottage Cheese
Using cottage cheese in brownies may sound unconventional, but it serves a vital role in achieving a moist, rich texture while increasing the protein content. When blended until smooth, the cottage cheese incorporates seamlessly into the batter, resulting in a velvety consistency that contrasts beautifully with the crunch of cocoa nibs. This substitution not only makes the brownies healthier but also adds a unique depth of flavor that traditional recipes lack.
Additionally, using cottage cheese helps to keep the brownies from being overly dense, which can often happen with flour-heavy recipes. The added moisture from the cottage cheese helps create a fudgy texture, leading to that mouthwatering experience when you dig in. Remember to choose a full-fat variety for the best creamy result; low-fat options may affect the overall texture and moisture of the brownies.
Perfecting the Baking Process
Baking these brownies requires close attention, especially in the final minutes. Ovens can vary, so start checking for doneness around the 20-minute mark. You’re looking for the brownies to pull slightly away from the edges of the pan and for a toothpick to come out with a few moist crumbs rather than wet batter. Overbaking can lead to dry brownies, so err on the side of caution and take them out once they look set but still slightly underdone in the center.
After baking, let the brownies cool in the pan for at least 10 minutes before slicing. This short resting period allows the brownies to firm up as they cool, which makes for cleaner, more precise cuts. Using a plastic or silicone spatula can help lift them out without breaking the edges. If you want to enhance the flavor, sprinkle a pinch of flaky sea salt on top right after you remove them from the oven for a sweet-salty twist.
Storage and Serving Suggestions
These Cottage Cheese Brownies can be stored in an airtight container at room temperature for up to three days, or in the refrigerator for about a week. If you want to enjoy them even longer, consider freezing them. Slice the cooled brownies into squares, wrap each piece tightly in plastic wrap, and store them in a freezer-safe bag. When ready to indulge, simply thaw them at room temperature or microwave them for a few seconds to regain their fresh-baked goodness.
Serving these brownies can be just as delightful as making them. For a decadent treat, serve warm alongside a scoop of vanilla ice cream or drizzle with chocolate ganache. You could also add a layer of yogurt or whipped cream on top for an extra creamy texture. Adding fresh berries can enhance the flavors, providing a refreshing contrast to the rich chocolate taste of the brownies.
Ingredients
Gather these ingredients to make your delicious brownies:
Ingredients
- 1 cup cottage cheese
- 1/2 cup unsweetened cocoa powder
- 1 cup granulated sugar
- 1/2 cup vegetable oil
- 2 large eggs
- 1 teaspoon vanilla extract
- 1/2 teaspoon baking powder
- 1/4 teaspoon salt
- 1/2 cup all-purpose flour
- 1/2 cup cocoa nibs
Make sure to mix well for a smooth batter!
Instructions
Follow these simple steps to create your brownies:
Preheat the Oven
Preheat your oven to 350°F (175°C) and grease a 9x9 inch baking pan.
Blend Cottage Cheese
In a blender, blend the cottage cheese until smooth and creamy.
Mix Wet Ingredients
In a large mixing bowl, combine the blended cottage cheese, sugar, vegetable oil, eggs, and vanilla extract.
Combine Dry Ingredients
In another bowl, whisk together the cocoa powder, baking powder, salt, and flour.
Combine Everything
Gradually fold the dry ingredients into the wet mixture, ensuring everything is well combined.
Add Cocoa Nibs
Gently stir in the cocoa nibs, ensuring they are evenly distributed.
Bake
Pour the batter into the prepared baking pan and bake for 25 minutes, or until a toothpick inserted into the center comes out clean.
Cool and Serve
Allow the brownies to cool in the pan for 10 minutes before slicing into squares and serving.
Enjoy these delicious brownies with a scoop of ice cream or a sprinkle of powdered sugar!
Pro Tips
- For an extra touch, drizzle melted dark chocolate on top before serving.
Ingredient Variations
If you're looking for variations, you can replace cocoa nibs with dark chocolate chips for a sweeter option. However, if you want to keep the brownies on the healthier side, consider using dark chocolate chips made with at least 70% cocoa for a less sugary alternative while still providing that rich flavor. To make these brownies gluten-free, you can substitute all-purpose flour with almond flour or a gluten-free flour blend, making sure to adjust the consistency of your batter accordingly.
For those who need to avoid sugar, feel free to substitute granulated sugar with coconut sugar, maple syrup, or other sweeteners of your choice. If you opt for liquid sweeteners such as honey or agave syrup, remember to reduce the amount of vegetable oil slightly to maintain the proper viscosity in your batter.
Troubleshooting Tips
If you find that your brownies turn out too dry, this could be a result of overbaking or an inaccurate measuring of flour. Ensure to spoon the flour into your measuring cup and level it off rather than scooping directly from the bag, which can compact the flour and lead to excess in your batter. Always keep an eye on the baking time, making adjustments based on your oven's performance.
For brownies that don’t rise as expected, check the freshness of your baking powder, as expired leavening agents can greatly affect the texture. Always store baking powder in a cool, dry place. If using substitutes like almond flour, the density can change how much the brownies rise, so don't hesitate to experiment with ingredient ratios to find the ideal balance for your desired texture.
Scaling the Recipe
If you're planning to make a larger batch for gatherings, you can easily double the recipe. Just be mindful of your baking pan size; a 9x13 inch pan is perfect for this doubled amount. Additionally, you may need to adjust the baking time, typically increasing it by about 5-10 minutes. Keep checking for doneness to prevent overbaking during this adjustment.
Conversely, if you want to make a smaller batch, you can cut the ingredients in half and use a smaller pan, like an 8x8 inch dish. This would also require slightly shorter baking time, so start checking after 15 minutes to get that perfect fudgy brownie without compromising the texture.
Questions About Recipes
→ Can I substitute the cottage cheese?
Yes, you can use Greek yogurt for a similar texture.
→ How do I store the brownies?
Store them in an airtight container at room temperature for up to 3 days.
→ Can I freeze the brownies?
Absolutely! Wrap them tightly and freeze for up to 3 months.
→ What can I use instead of cocoa nibs?
You can substitute chocolate chips or omit them altogether.
Cottage Cheese Brownies with Cocoa Nibs
What You'll Need
Ingredients
- 1 cup cottage cheese
- 1/2 cup unsweetened cocoa powder
- 1 cup granulated sugar
- 1/2 cup vegetable oil
- 2 large eggs
- 1 teaspoon vanilla extract
- 1/2 teaspoon baking powder
- 1/4 teaspoon salt
- 1/2 cup all-purpose flour
- 1/2 cup cocoa nibs
How-To Steps
Preheat your oven to 350°F (175°C) and grease a 9x9 inch baking pan.
In a blender, blend the cottage cheese until smooth and creamy.
In a large mixing bowl, combine the blended cottage cheese, sugar, vegetable oil, eggs, and vanilla extract.
In another bowl, whisk together the cocoa powder, baking powder, salt, and flour.
Gradually fold the dry ingredients into the wet mixture, ensuring everything is well combined.
Gently stir in the cocoa nibs, ensuring they are evenly distributed.
Pour the batter into the prepared baking pan and bake for 25 minutes, or until a toothpick inserted into the center comes out clean.
Allow the brownies to cool in the pan for 10 minutes before slicing into squares and serving.
Extra Tips
- For an extra touch, drizzle melted dark chocolate on top before serving.
Nutritional Breakdown (Per Serving)
- Calories: 200 kcal
- Total Fat: 10g
- Saturated Fat: 1.5g
- Cholesterol: 35mg
- Sodium: 160mg
- Total Carbohydrates: 23g
- Dietary Fiber: 3g
- Sugars: 15g
- Protein: 6g